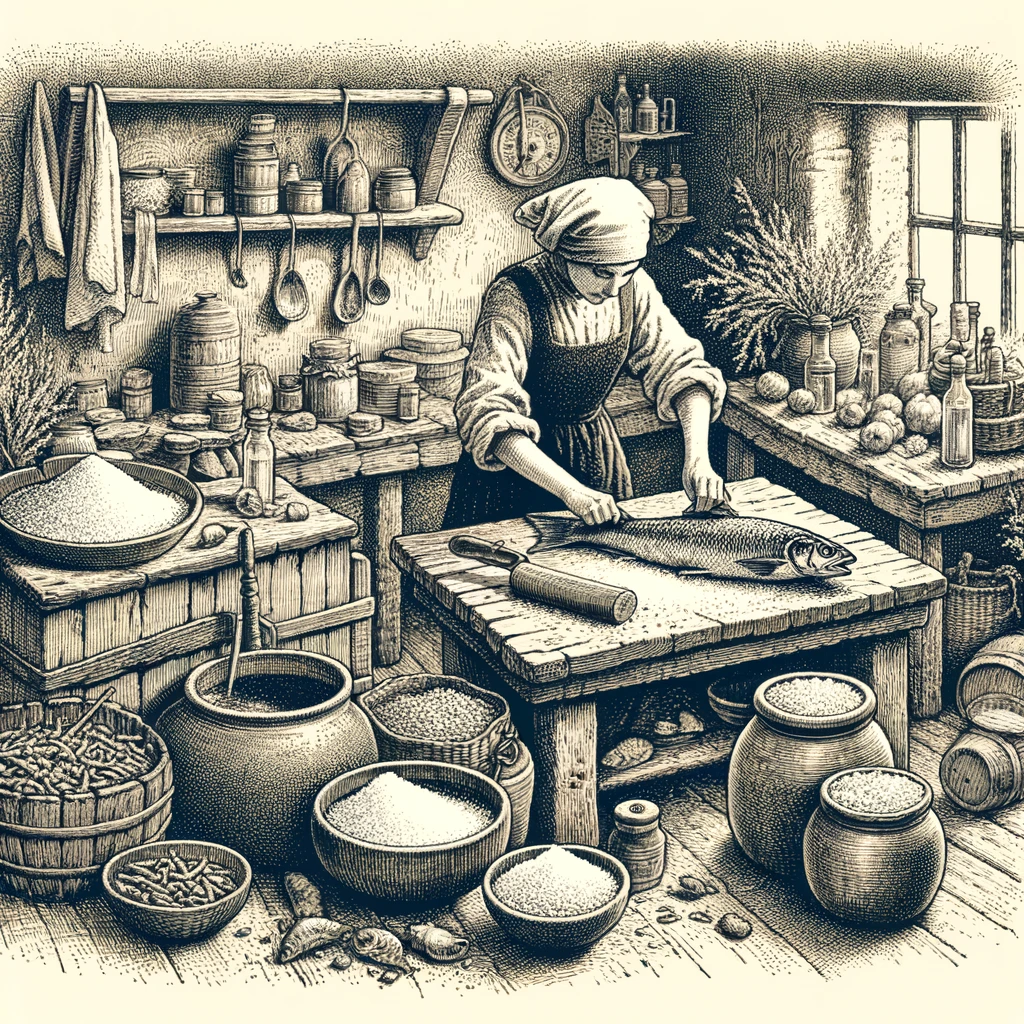
For centuries, humans have sought ways to preserve food and extend its shelf life, ensuring a stable supply of sustenance through harsh winters, long journeys, and times of scarcity. Among the myriad techniques developed, salting food preservation stands as one of the oldest and most effective methods of food preservation.
This ancient practice has not only played an important role in human survival but has also given rise to a diverse array of culinary traditions across the globe.
In today’s modern world, where refrigeration and other advanced preservation methods are readily available, the art of salting food may seem like a relic of the past. However, for the self-sufficient individual seeking to preserve homegrown or locally sourced produce without relying on modern technology, salting remains a valuable skill.
Salt’s ability to draw out moisture from food creates an environment that inhibits the growth of spoilage-causing microorganisms, allowing for longer storage of meats, fish, and vegetables without refrigeration or artificial preservatives.
This article will offer insights into salting food preservation, exploring the various techniques employed by self-sufficient people to harness this time-honored practice.
From the traditional methods of dry salting and brining to the complex process of salt fermentation, we will uncover the science behind salting and provide practical insights for those looking to incorporate this preservation method into their own lives.
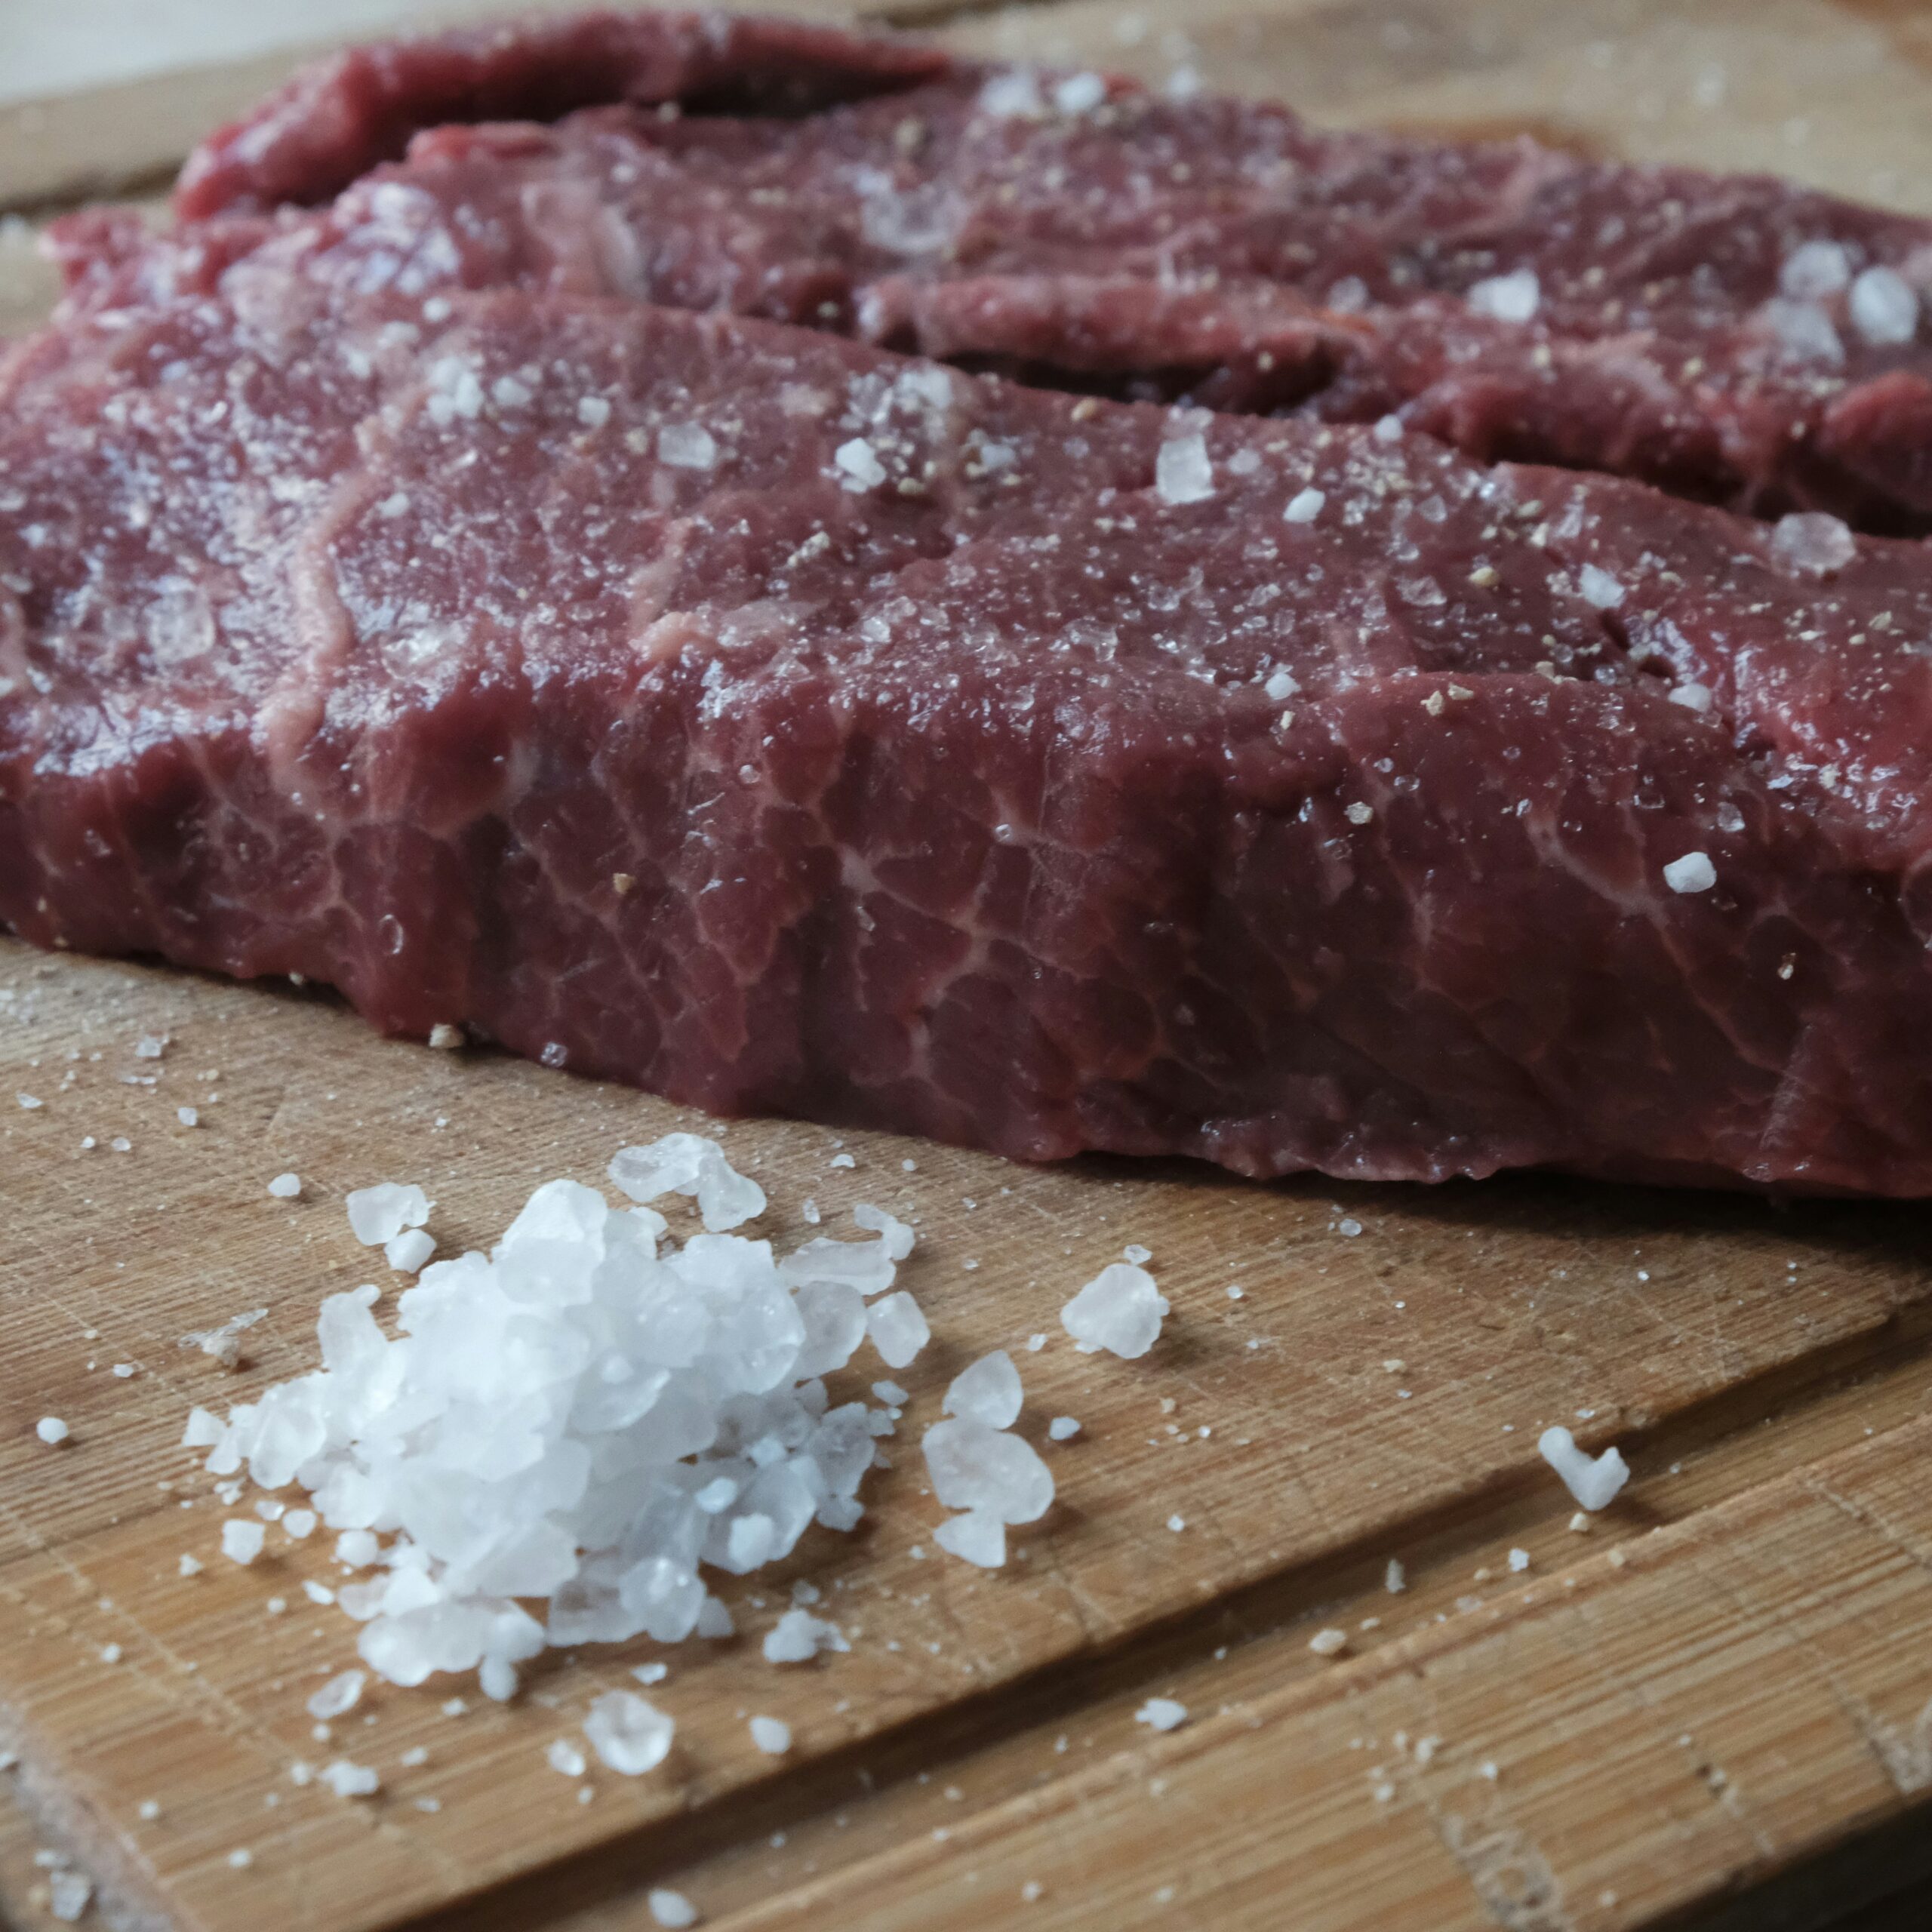
The Basics of Dry Salting (Curing)
Dry salting, also known as curing, is a simple yet effective method of food preservation. It relies on the power of salt to draw moisture out of food, creating an environment that discourages the growth of harmful bacteria.
Curing is ideal for meats like pork, beef, and fish, and can also be used with certain vegetables like cabbage or cucumbers.
Getting Started
- Choose the Right Salt: For optimal results, select high-quality salt with no additives or anti-caking agents. Coarse sea salt or kosher salt are preferred, as their larger granules effectively absorb moisture.
- Prep Your Food: Trim away excess fat or undesirable parts. Coat the food thoroughly and evenly with a generous layer of salt.
- Find a Suitable Container: Place the salted food in a non-reactive container, such as glass or ceramic. Store it in a cool, dark place for the duration of the curing process.
Understanding the Curing Timeline
- The Initial Stage (First 24-48 Hours): During this phase, salt actively draws out moisture from the food, creating a surface brine. To ensure even curing, flip the meat and redistribute any collected liquid daily.
- Equilibrium (Length Varies): Salt continues to penetrate deeper, gradually distributing throughout the entire piece of food. The length of this stage depends on factors like the type of meat, its thickness, and your desired level of saltiness. Recipes offer guidance, but if you’re unsure if the cure is complete, you can always cook a small portion to assess the flavor.
- Optional Drying/Smoking: Once fully cured, rinse off excess salt and pat the food dry. At this point, you may choose to wrap and store the cured meat, air dry it for enhanced flavor and longevity, or cold-smoke it for a more complex flavor profile.
Important Considerations
- Size Matters: As a general guideline, allow approximately 7 days of curing time per inch of meat thickness. However, always consult a reliable recipe for your specific type of food.
- Safety First: When in doubt, it’s better to cure for a slightly longer period rather than risk under-salting your meat.
Customizing Your Dry Salting Technique
One of the benefits of dry salting is the opportunity to tailor the flavor of your preserved foods. Incorporating herbs, spices, and aromatics into the salt mixture allows you to create unique flavor profiles.
Consider these combinations:
- Curing Pork Belly for Bacon: Enhance the classic flavor by adding elements like brown sugar for a touch of sweetness, black pepper for a subtle warmth, and smoked paprika for a rich, smoky depth.
- Scandinavian-Inspired Gravlax: For a fresh, Nordic-inspired fish cure, try blending dill, lemon zest, and juniper berries with your salt.
Curing Time Considerations
The duration of the dry salting process varies based on the type and size of the food. Here’s a general guideline to help you get started:
- Fish Fillets (thin): 2-3 days
- Fish Fillets (thick): 3-5 days
- Pork Belly (for bacon): 7-10 days
- Beef Brisket (for pastrami): 5-7 days
- Duck Breasts (for prosciutto): 10-14 days
- Whole Hams or Large Pork Cuts: Several weeks to months (size dependent)
Important: These are starting points. Always consult a reliable recipe for your specific type of food and desired saltiness level.
Ensuring Even Curing and Assessing Progress
To promote even salt distribution, redistribute the salt and any accumulated liquid every few days. Flip the food item to ensure all sides are exposed to the salt mixture.
There are a few ways to determine if the food is adequately cured:
- Texture: Cured meat will feel firm to the touch, with a noticeable reduction in moisture content.
- Aroma: Properly cured food develops a pleasant, savory aroma without any off-putting odors.
- Taste Test (if unsure): Cooking and tasting a small slice will reveal if the saltiness and overall flavor are to your liking.
Storage and Additional Flavor Options
Once sufficiently cured, rinse off excess salt and pat the food dry. You can then wrap and store cured meats in a cool, dry place for several months. For additional flavor and preservation benefits, consider air-drying or cold-smoking your cured meats.
Disclaimer: Curing times can be affected by factors like temperature and humidity. When preserving foods at home, always prioritize safety by following reputable recipes and guidelines.
Salt Fermentation: Utilizing Beneficial Bacteria
Salt fermentation, also known as lacto-fermentation is a more advanced salting food preservation technique that not only preserves food but also enhances its flavor and nutritional value through the action of beneficial bacteria.
In this process, salt is used to create an environment that encourages the growth of desirable microorganisms while inhibiting the growth of harmful ones.
As these beneficial bacteria multiply, they produce lactic acid, which further preserves the food and gives it a distinctive tangy flavor.
To begin the salt lacto-fermentation process, prepare the food item by cleaning, chopping, or grating it as desired. Place the prepared food in a fermentation vessel, such as a glass jar or ceramic crock, and add salt.
The amount of salt used varies depending on the specific recipe but typically ranges from 2-5% of the weight of the food. Massage the salt into the food until it begins to release its natural juices, creating a brine. Some foods may require the addition of more water, which must be adequately salty (see below guidelines).
Once there’s enough brine to fully cover the food, press the food down to ensure it’s fully submerged in the liquid. If necessary, use a weight or fermentation lock to keep the food beneath the brine’s surface.
Cover the fermentation vessel with a lid or cloth and store it at room temperature for several days or weeks, depending on the recipe and desired level of fermentation. It’s critical to keep the food covered in brine at all times to prevent mold. Also vital to the success of the ferment is to ensure that no insects such as flies or fruit flies can enter the container.
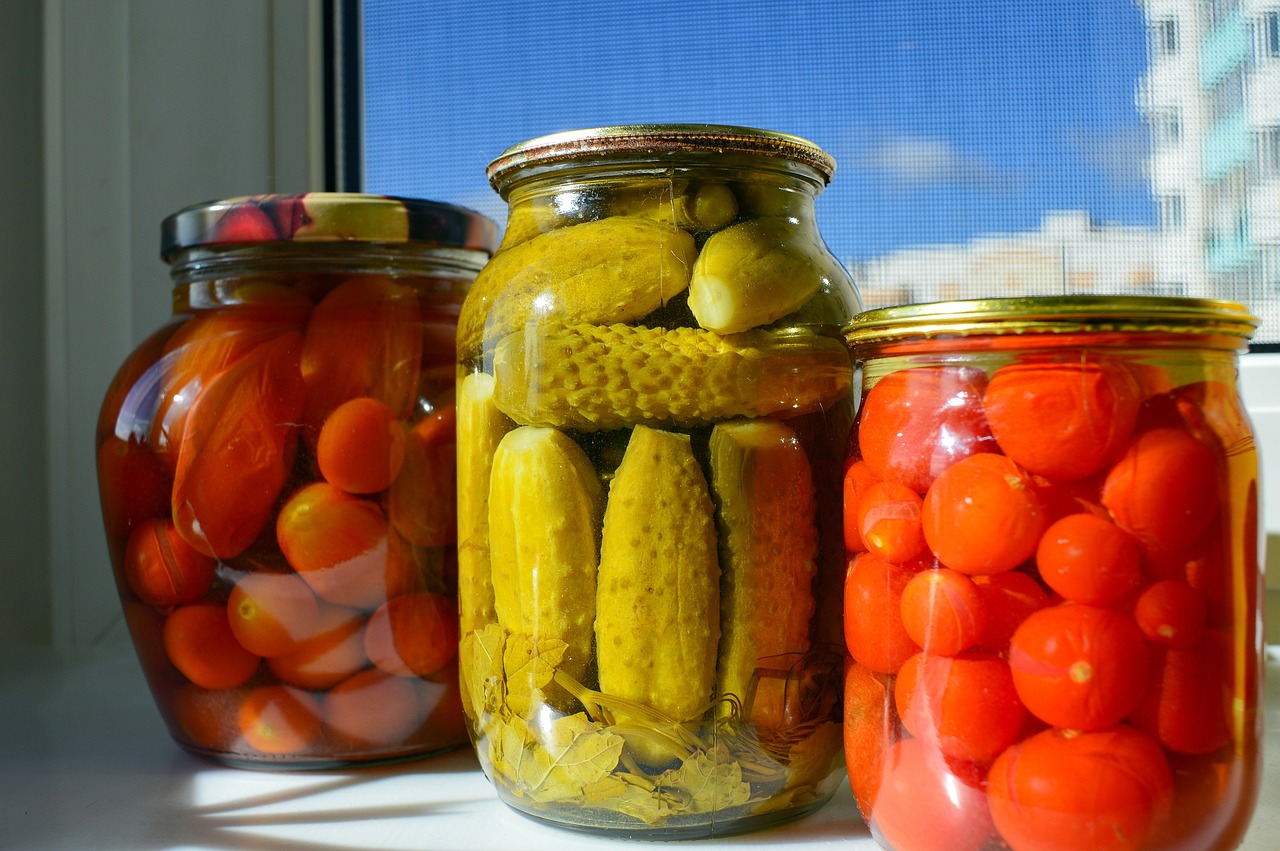
Some popular examples of salt-fermented foods include sauerkraut, kimchi, and preserved lemons. These fermented products not only offer a delicious and tangy flavor but also provide beneficial probiotics that support digestive health.
By mastering the art of salt fermentation, you can create a wide range of flavorful and nutritious preserved foods to increase your self-sufficiency and extend the enjoyment of seasonal flavors far beyond their natural lifespan.
Salting Food Preservation Techniques and Salt Amounts for Specific Foods
When applying salting food preservation methods, consider the unique characteristics of each food item to achieve the best results.
For instance, when dry salting meats, use the appropriate amount of salt based on the weight and thickness of the cut. A general rule of thumb is to use 1/2 to 1 ounce of salt per pound of meat, depending on personal preference and the desired level of saltiness.
Similarly, when brining vegetables, adjust the strength of the brine solution based on the firmness and density of the produce. Softer vegetables, such as cucumbers and zucchini, require a weaker brine (around 1/4 cup of salt per quart of water) to prevent them from becoming too soft or mushy during the brining process.
On the other hand, firmer vegetables, like carrots and beets, can withstand a stronger brine (up to 1/2 cup of salt per quart of water) without compromising their texture.
When it comes to salt fermentation, the type of salt used can directly affect the final product. Iodized table salt is not recommended for fermentation, as the added iodine can inhibit the growth of beneficial bacteria.
Instead, opt for pure sea salt or pickling salt, which don’t contain any additives that may interfere with the fermentation process. Additionally, maintain a consistent salt concentration throughout the fermentation process to ensure the safety and quality of the final product.
Storing and Using Salted Foods
Once foods have been preserved through salting, proper storage is needed to maintain their quality and extend their shelf life.
Dry salted meats, such as bacon or jerky, should be wrapped tightly in parchment paper or stored in airtight containers in a cool, dry place. These preserved meats can be enjoyed on their own as a savory snack or used as flavorful additions to dishes like stews, soups, and sandwiches.
Brined vegetables should be transferred to clean, airtight containers and stored in the refrigerator. These tangy, salty vegetables make excellent condiments and garnishes for a wide range of dishes, from salads and sandwiches to grain bowls and charcuterie boards.
Pickled vegetables can also be used as a flavorful and crunchy addition to homemade fermented foods, such as kimchi or sauerkraut. Salt-fermented foods should be stored in the refrigerator once they have reached the desired fermentation level.
Salting for Health and Sustainability
Besides its exceptional preservative properties, salting foods can also provide numerous health benefits. Salt is an essential mineral that plays a vital role in maintaining proper bodily functions, such as regulating blood pressure, supporting nerve and muscle function, and promoting healthy hydration levels.
By consuming salt-preserved foods in moderation, individuals can ensure they are getting an adequate amount of this nutrient.
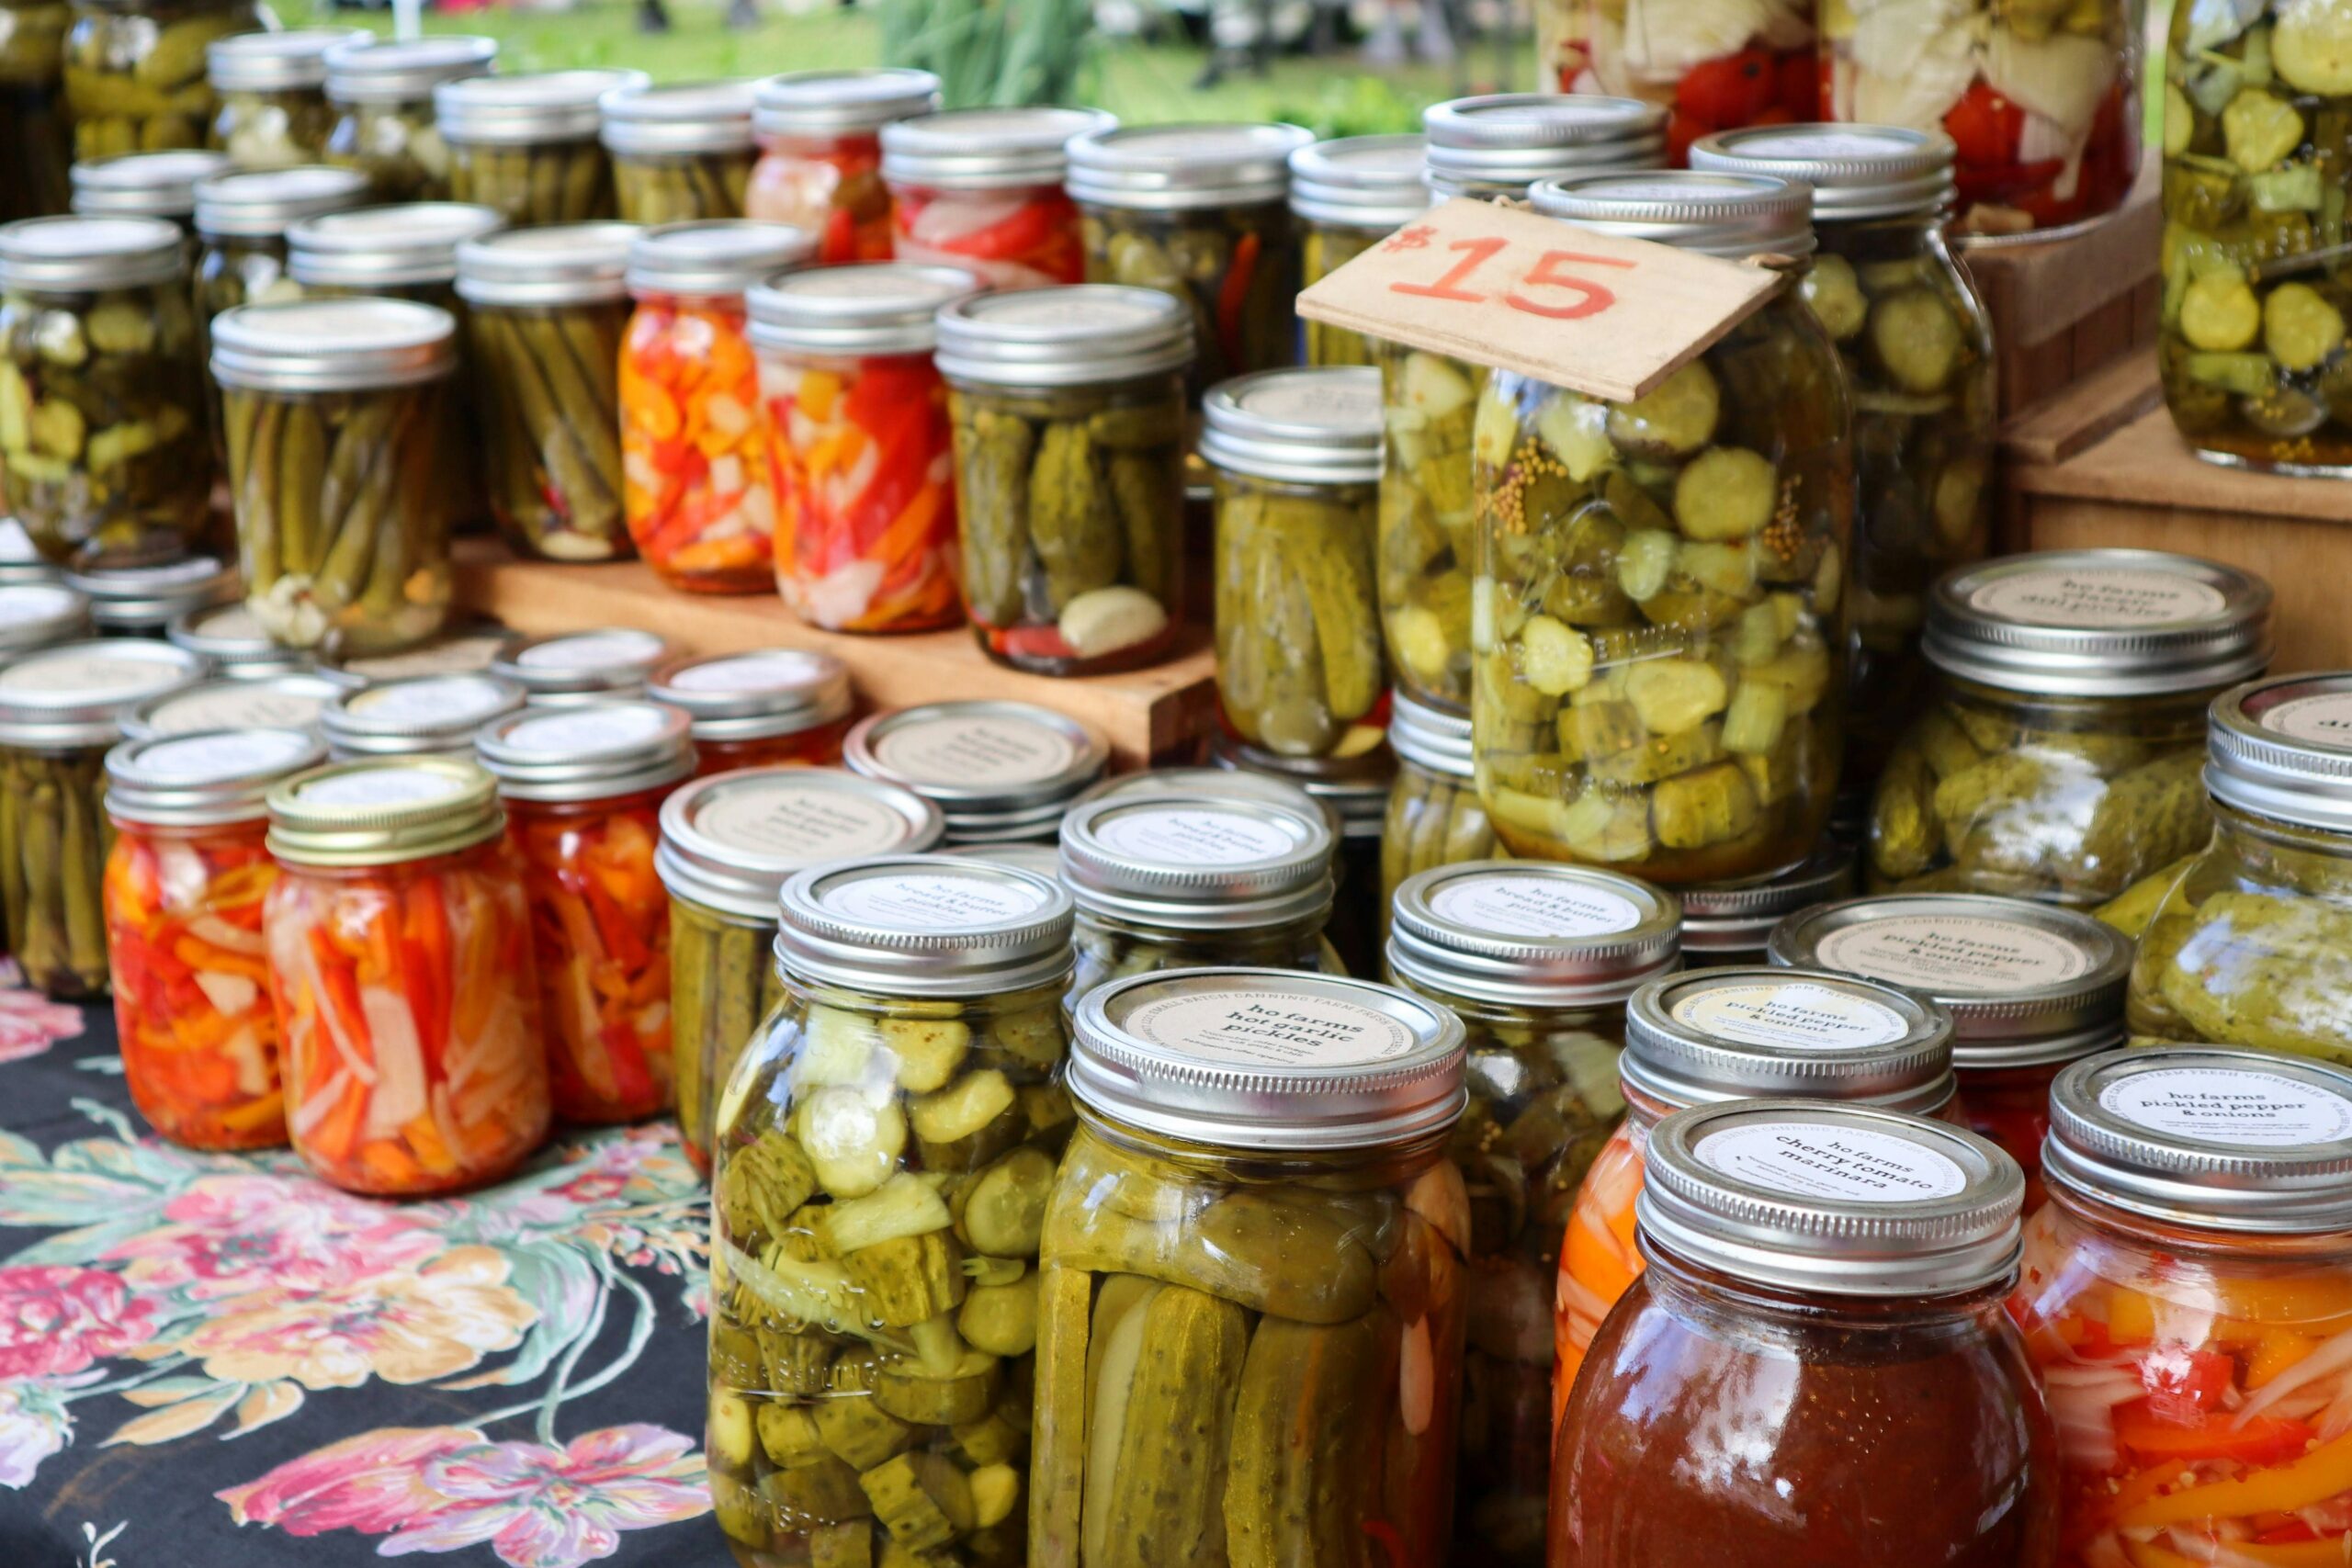
Additionally, salting food preservation can contribute to a more sustainable and self-sufficient lifestyle.
By preserving seasonal produce and locally sourced meats, you can reduce your reliance on commercially processed foods and minimize food waste.
This not only supports local farmers and economies but also reduces the environmental impact associated with food transportation and packaging.
When salting foods for preservation, use the appropriate amount of salt and consume salted foods in moderation as part of a balanced diet. As with anything, too much of a good thing can be harmful.
People with certain health conditions, such as hypertension or kidney disease, may also need to limit their salt intake and should consult with a healthcare professional before incorporating salt-preserved foods into their diet.
Experimenting with Salting Techniques
As with any food preservation method, salting techniques may require some trial and error to achieve the desired results. Don’t be afraid to experiment with different types of salt, varying concentrations of brine solutions (always making sure to put in enough to avoid spoilage), and a range of herbs and spices to customize the flavor profile of your preserved foods.
When starting out, it may be helpful to follow established recipes and guidelines to ensure food safety and quality. As you gain more experience and confidence in your salting skills, you can begin to adapt recipes and develop your own unique creations.
Keep detailed notes on your salting experiments. Record the type and amount of salt used, the duration of the preservation process, and any additional ingredients or techniques employed.
This will allow you to refine your methods over time and create a collection of reliable, go-to recipes for your favorite salt-preserved foods.
In addition to traditional salting methods, there are many unique ways to incorporate salt into your food preservation repertoire. For example, you can experiment with making flavored salts by blending coarse sea salt with dried herbs, citrus zest, or spices like smoked paprika or chili flakes.
These flavored salts can be used to add a unique twist to your dry salting or brining projects, imparting an extra layer of flavor to your preserved meats and vegetables.
Through the practice of salting food preservation, you can up your self-sufficiency level and discover delicious new flavors, combat food waste, and support a more environmentally responsible approach to living.
Building a Community Around Salt Preservation
As you dive into salt preservation, seek out the camaraderie and expertise of other self-sufficient people, homesteaders, and food enthusiasts who celebrate the time-honored practice of preserving food.
Engaging with communities can provide you with valuable support, inspiration, and knowledge as you develop your salting food preservation skills. Consider joining online forums, social media groups, or local organizations dedicated to food preservation and self-sufficiency.
These platforms offer a wealth of information and resources, including recipes, tutorials, and troubleshooting advice from experienced salters.
In addition to online engagement, look for opportunities to connect with like-minded people in your area. Attend workshops, classes, or events focused on food preservation, homesteading, or sustainable living.
These gatherings provide an excellent opportunity to meet fellow enthusiasts, exchange ideas, and potentially form collaborations or skill-sharing arrangements.
Salting Food Preservation: Where Practicality Meets Culinary Tradition
Salting food preservation is a time-honored method that offers many benefits for those seeking to live a more self-sufficient and sustainable lifestyle.
By mastering the techniques of dry salting, brining, and salt fermentation, you can create a diverse array of flavorful, nutritious, and long-lasting preserved foods that can be enjoyed throughout the year.
By embracing the art of salting food preservation, you can take a meaningful step towards reducing food waste, supporting local food systems, and cultivating a more resilient and fulfilling way of life.
As you savor the delicious fruits of your labor, take pride in knowing that you are not only nourishing yourself and your loved ones but also carrying on a valuable tradition that has sustained communities for generations.